Ikea Chalk Board Table
I may be coming down with something guys, I painted... something... BLACK! Huh? What? maybe I should sit down for a minute???
In all fairness, it wasn't for the sake of wanting black furniture. It was to add a dash of fun in our dining room with some chalk.
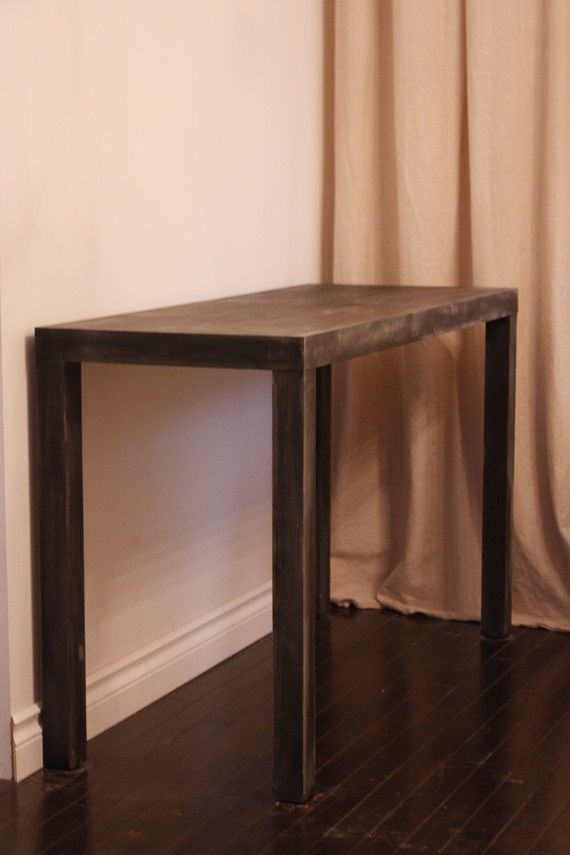
I found this table at Goodwill last week and knew it was perfect for a wall in our dining room. It was $14 and when I flipped it over it had a sticker that said Ikea Lack. I thought "cool! If anyone likes this project they can do it too!", and you still can, but I guess the Lack sofa table/console isn't made anymore... which is a bummer because the size and dimensions are awfully close to the always popular Parsons Table from West Elm.
{
the table in it's wood grained glory
}
(and yes, I notice that I have baseboard missing there. I will admit I have procrastinated on that project for about 6 months now and this may just be the motivation to finally get it done. The joys of renovating!!)
I threw a can of spray chalkboard paint on the table. It was my first time using the canned stuff and it worked well, but really, is it any different than flat paint, beside being triple the price??? I might see how flat spray paint works on future projects first unless someone can talk be off the ledge with some words of wisdom.
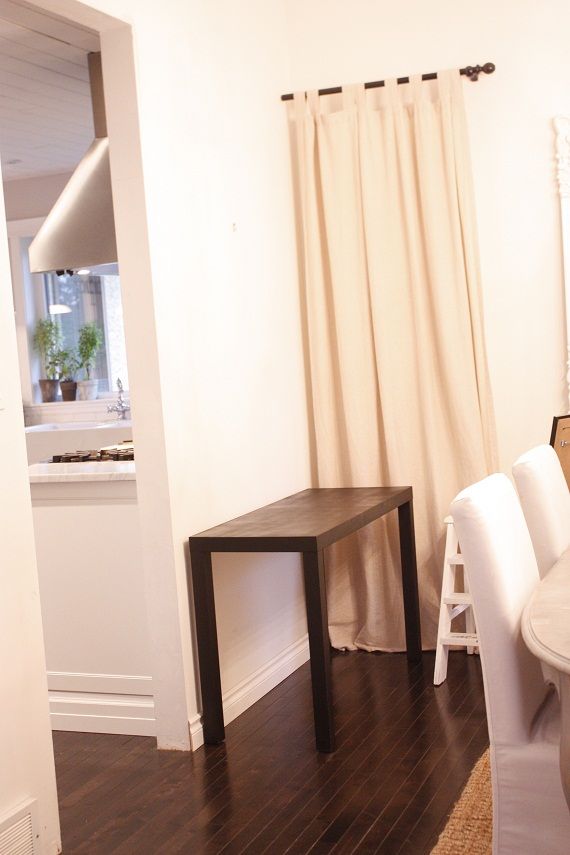
While I don't mind a pop of black or dark grey here or there it was a lot to take in for me. I think the main issue was that it looked too stark. I wanted it to look more like slate, and not so new. So I rubbed the whole thing down with chalk. I would have done it outside (and if you can, definitely go that route) but it was a torrential down pour the weekend I tackled this project.
(side note: our sump pump gave out at 10pm Sunday night as water was rising FAST. Thank goodness I have a handy hubby, he got it sorted out, found an emergency plumber on Kijiji and got us a new one before we had a pond for a basement. NOT fun!!)
Back to the project!! All rubbed up.
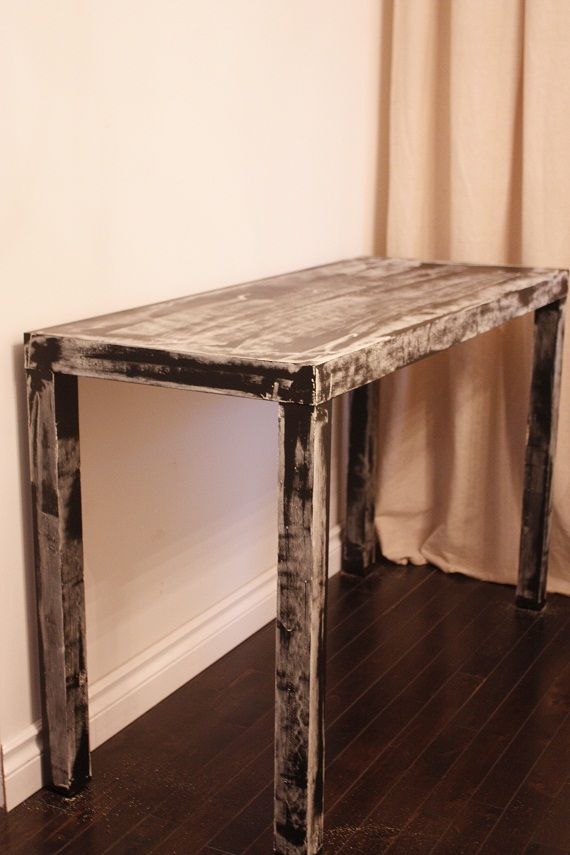
A quick wipe with a dry paper towel gives it the look I was going for.
Now here's where I need your help!! I had just got it all set up and photographed like this when an assortment of cool things came home from the Salvation Army with me.
I couldn't leave well enough alone so I need your opinion on which set up is your fav!
{Set up 1 }
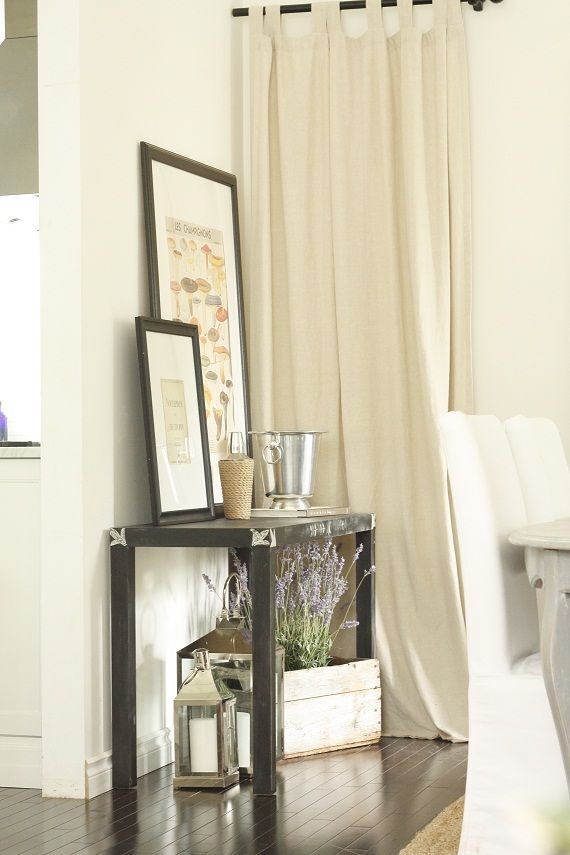
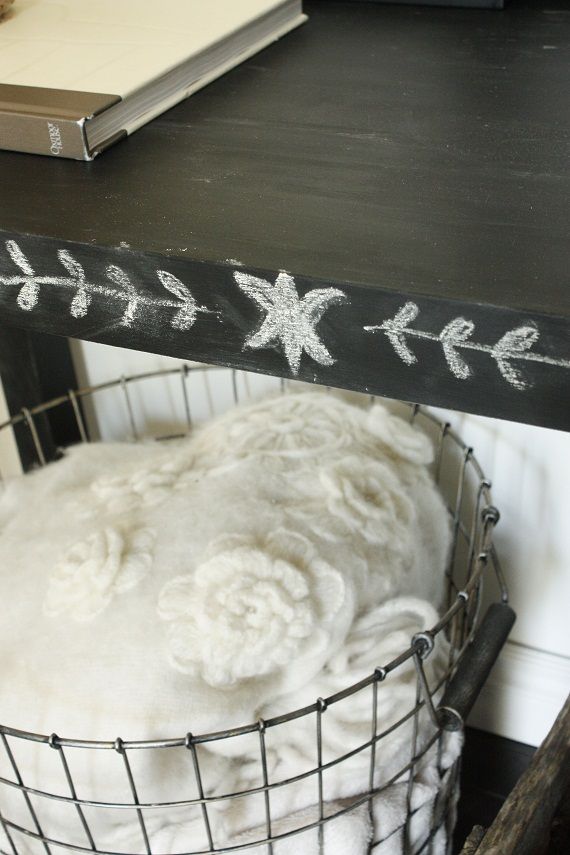
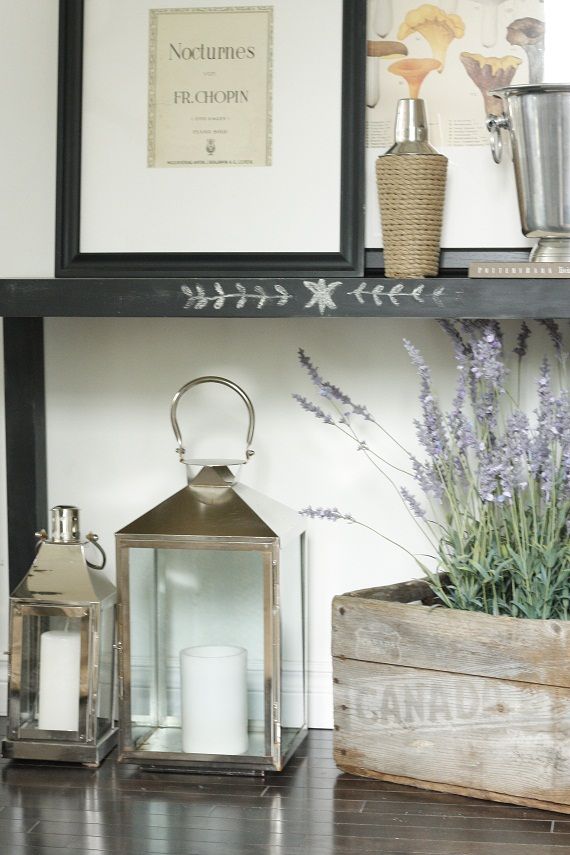
I went simple for my first attempt at free hand decorating a table. But wouldn't a detailed faux bone inlay look amazing? It is in a low traffic area so it wouldn't be ruined in a hot minute, but I know in a foyer or office it wouldn't stand a chance.
Haven't tackled the ceiling yet, but I am ITCHING to get started!
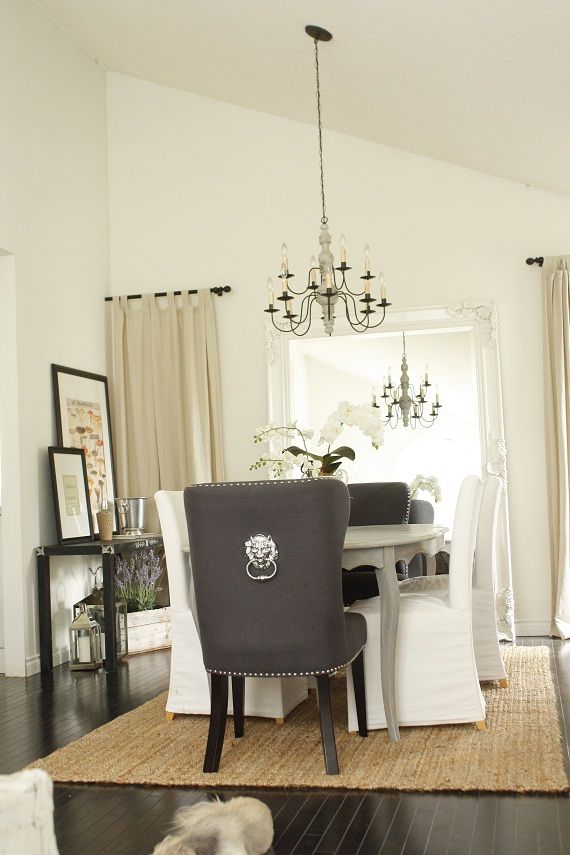
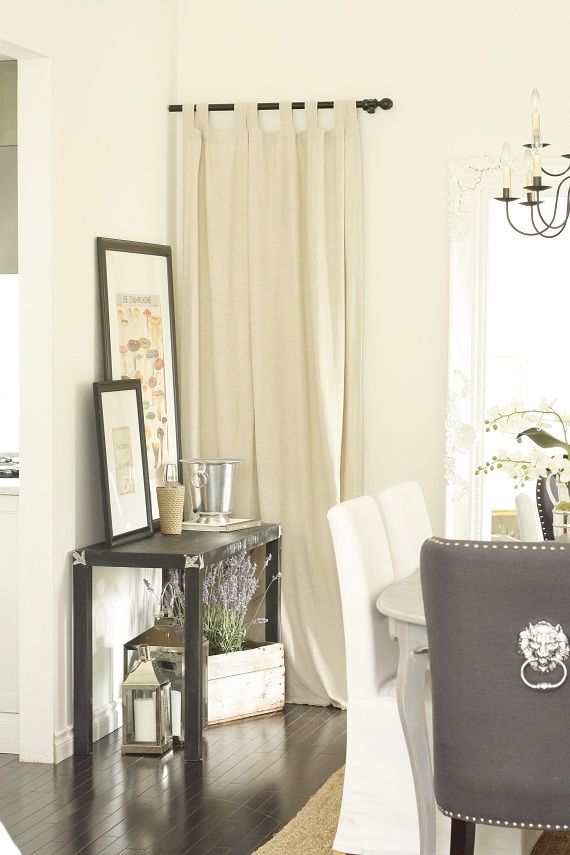
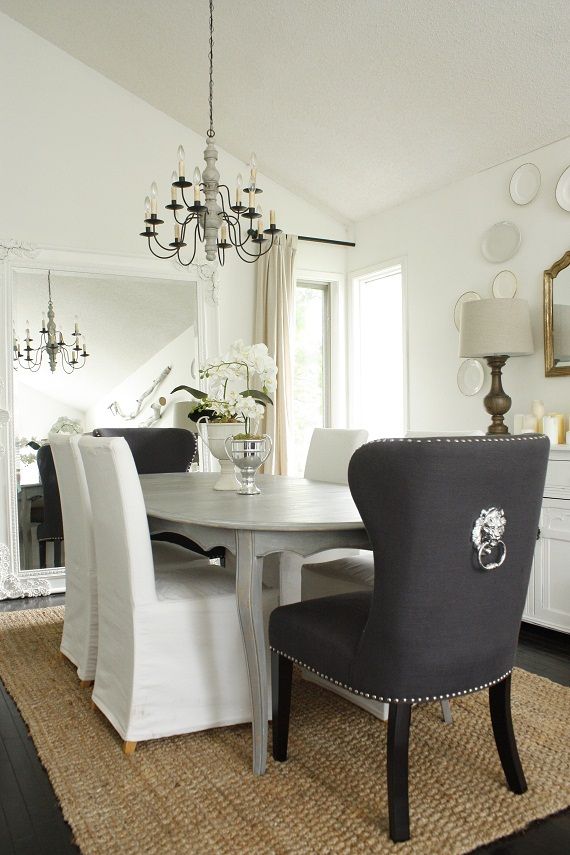
As many of you have noticed and commented, my linen lion chairs that were intended for Lexington never made it over there. My dining room held them hostage instead.
I also switched the table out with this antique french provincial table I have like 6 leaves for! Good for entertaining. It was stripped by the previous owner and I used tinted wood stain to give it the driftwood/limed wood look. I have been asked by friends if it was done with chalkpaint but I am going to share a little secret, one I know will not be popular: I do not like chalkpaint. I know!! It is all the rage right now, but I am not. a. fan. On a high traffic surface that we use and wash daily I need durability, and I had a can of this color of stain leftover from some of our floor projects at Lexington. The color name escapes me, but it was pre-tinted and by Verathane brand. After a few months of solid use I am more than pleased with it and not a scratch, oil spot or scuff can be seen even though it is a flat finish.
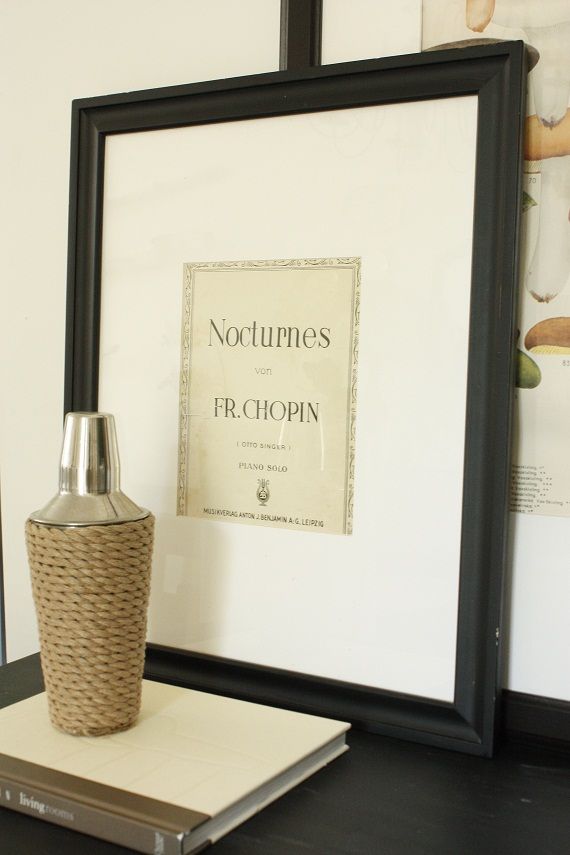
The title page of some old sheet music made a fast and easy art addition.
One last look at set up number 1!
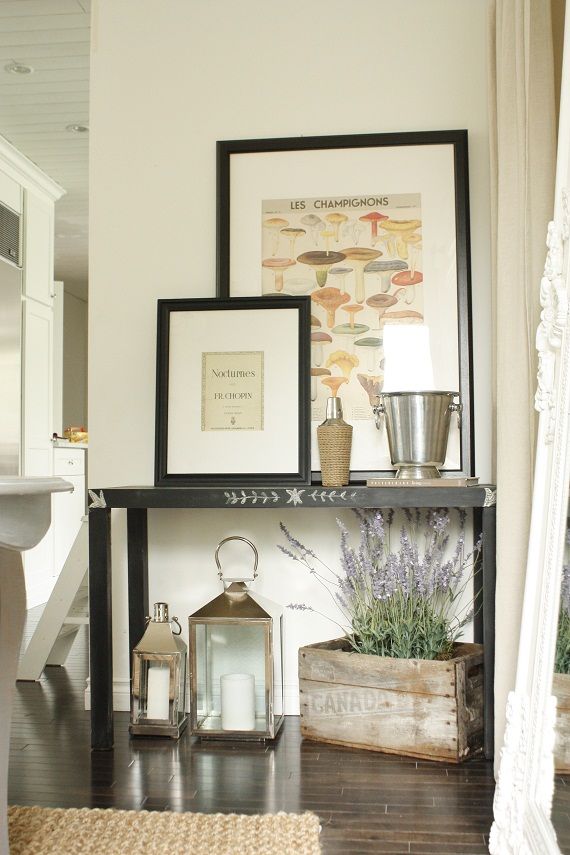
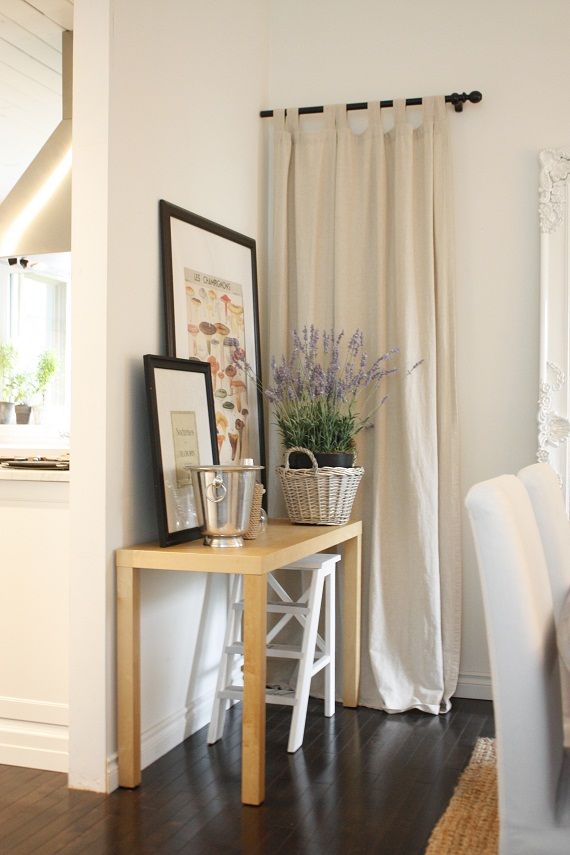
Then this really cool french bucket jumped out at me for $5 at the Salvation Army!!! And now the lavender doesn't fit under the table so I had to move it all around...
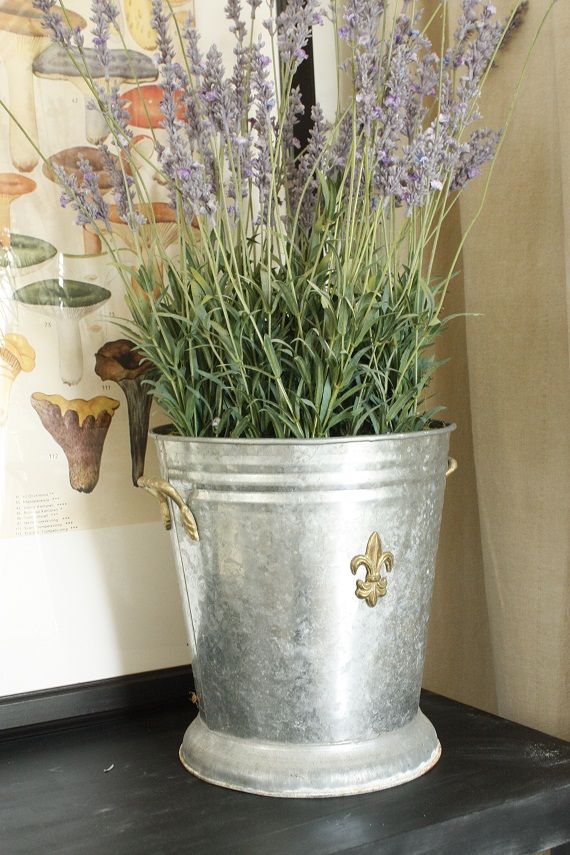
{ Set up number 2 }
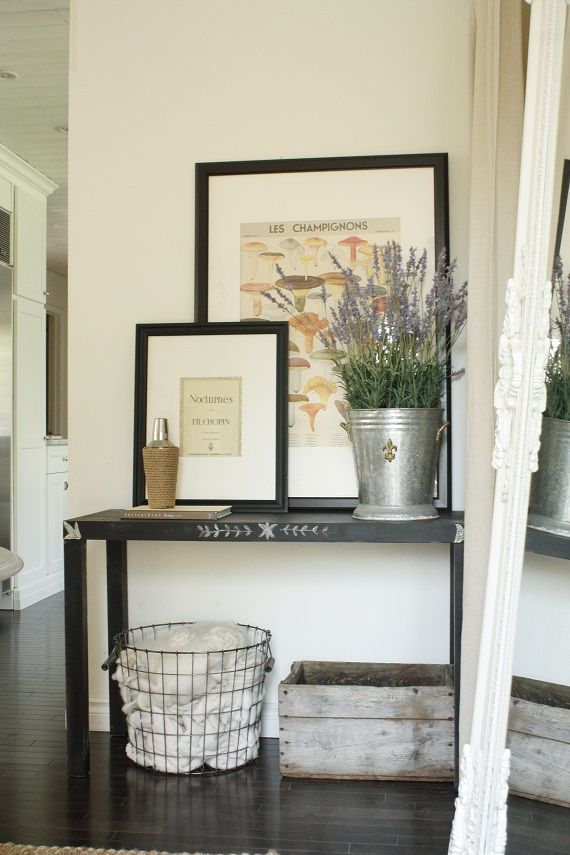
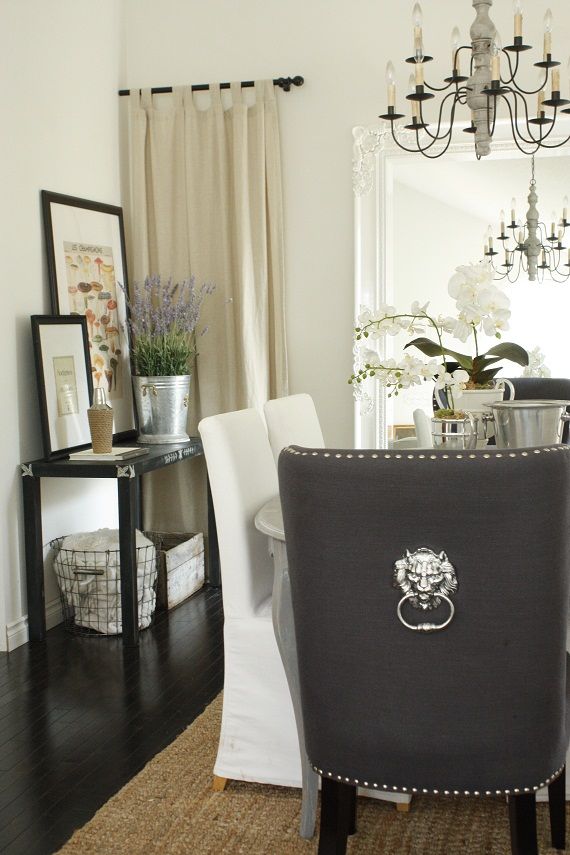
What's the verdict judges??? Set up 1 or 2?
Have a happy and fun weekend!