The Master Bath Face Lift Begins
So, here is a rarely shared spot in the house (I can count maybe 2 or 3 times TOPS that I've shared our bathroom since I started blogging in 2008!). Our master bathroom is VERY 1980's, like the rest of our house was before we started overhauling it. But it is probably the single least likely spot for a guest to see so it has remained the on the very bottom of our priority list. It probably was not wise to neglect this space, since we actually spend so much of our time in here. It's a really spacious bathroom, and everything is good and functional so we aren't planning on gutting this space. A little facelift is the perfect solution. The plan is to give the vanity a makeover (paint wood, new counter top, sink and faucet), remove the wall paper and then paint the whole room, and remove the old mirror and light and replace with something fresh. The biggest job in here is that we are actually replacing the shower surround and door as well due to needing to access some drainage under the unit, so we are going to do a nice new fibreglass kit and a new glass door. Quick and easy, versus tiling it all. The biggest single cost on tiling it all isn't the tile itself, but the fact we will have to have a custom glass door made and installed and that would easily run $1500-$2400 (shower glass is crazy expensive guys, I've yet to find a way to get custom glass on the cheap LOL). So a kit it is, since they usually run $500-$700 for the surround and door.

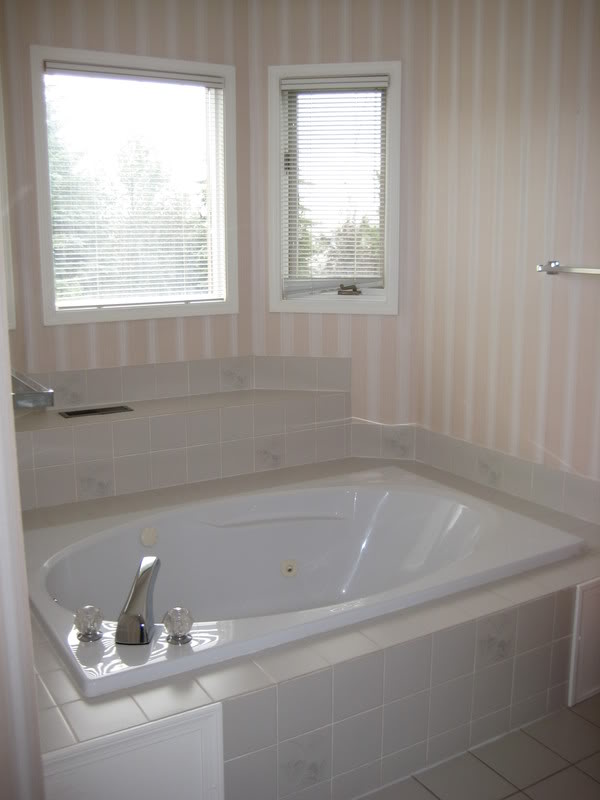
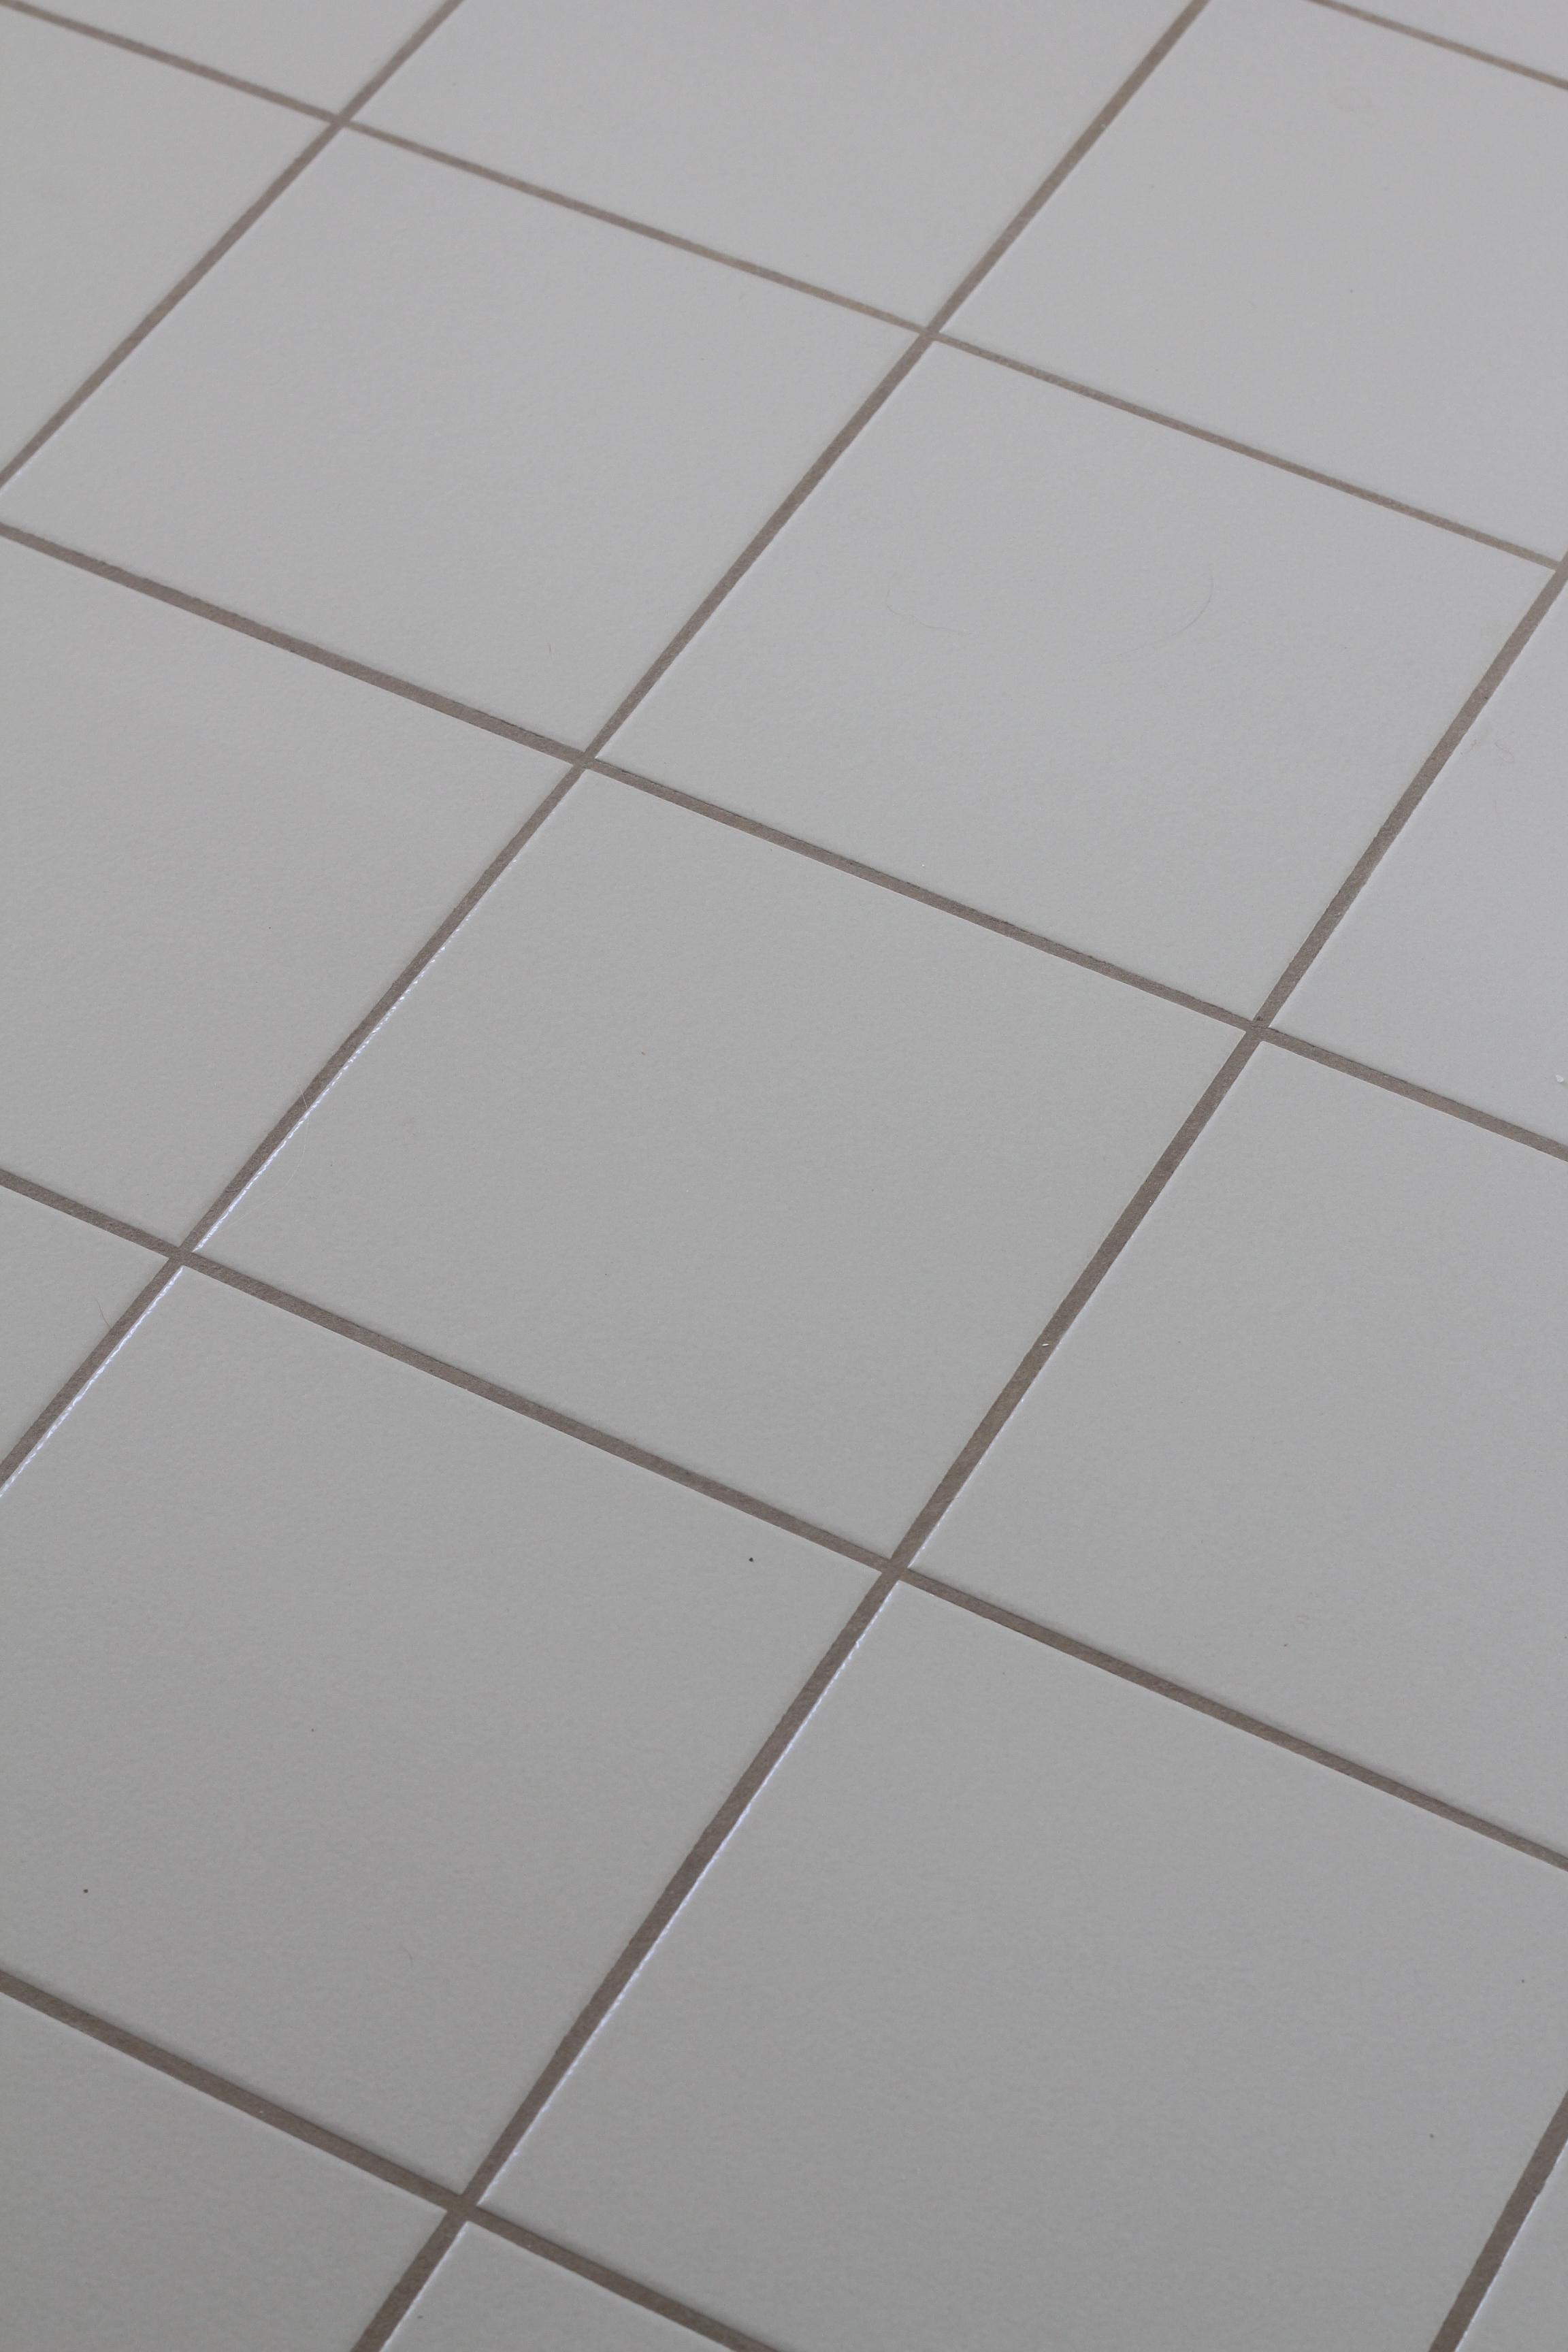
There are a handful of 'special' tiles around the jacuzzi I will be replacing. But the grey tiles in the bathroom themselves aren't offensive or anything, my biggest beef with them is they dark beige grout. It's not grey, it's not a proper beige. It just looks like evenly worn out old grout (it's actually in great shape, just an ugly colour). So I decided to be adventurous and re-seal the grout with a colored grout sealer. It was probably risky for me to try this for the first time ever on grout I didn't want to rip out eventually but I was feeling impatient and excited to start the makeover so I spent a day last week working on it.
Here is the grout as it was.
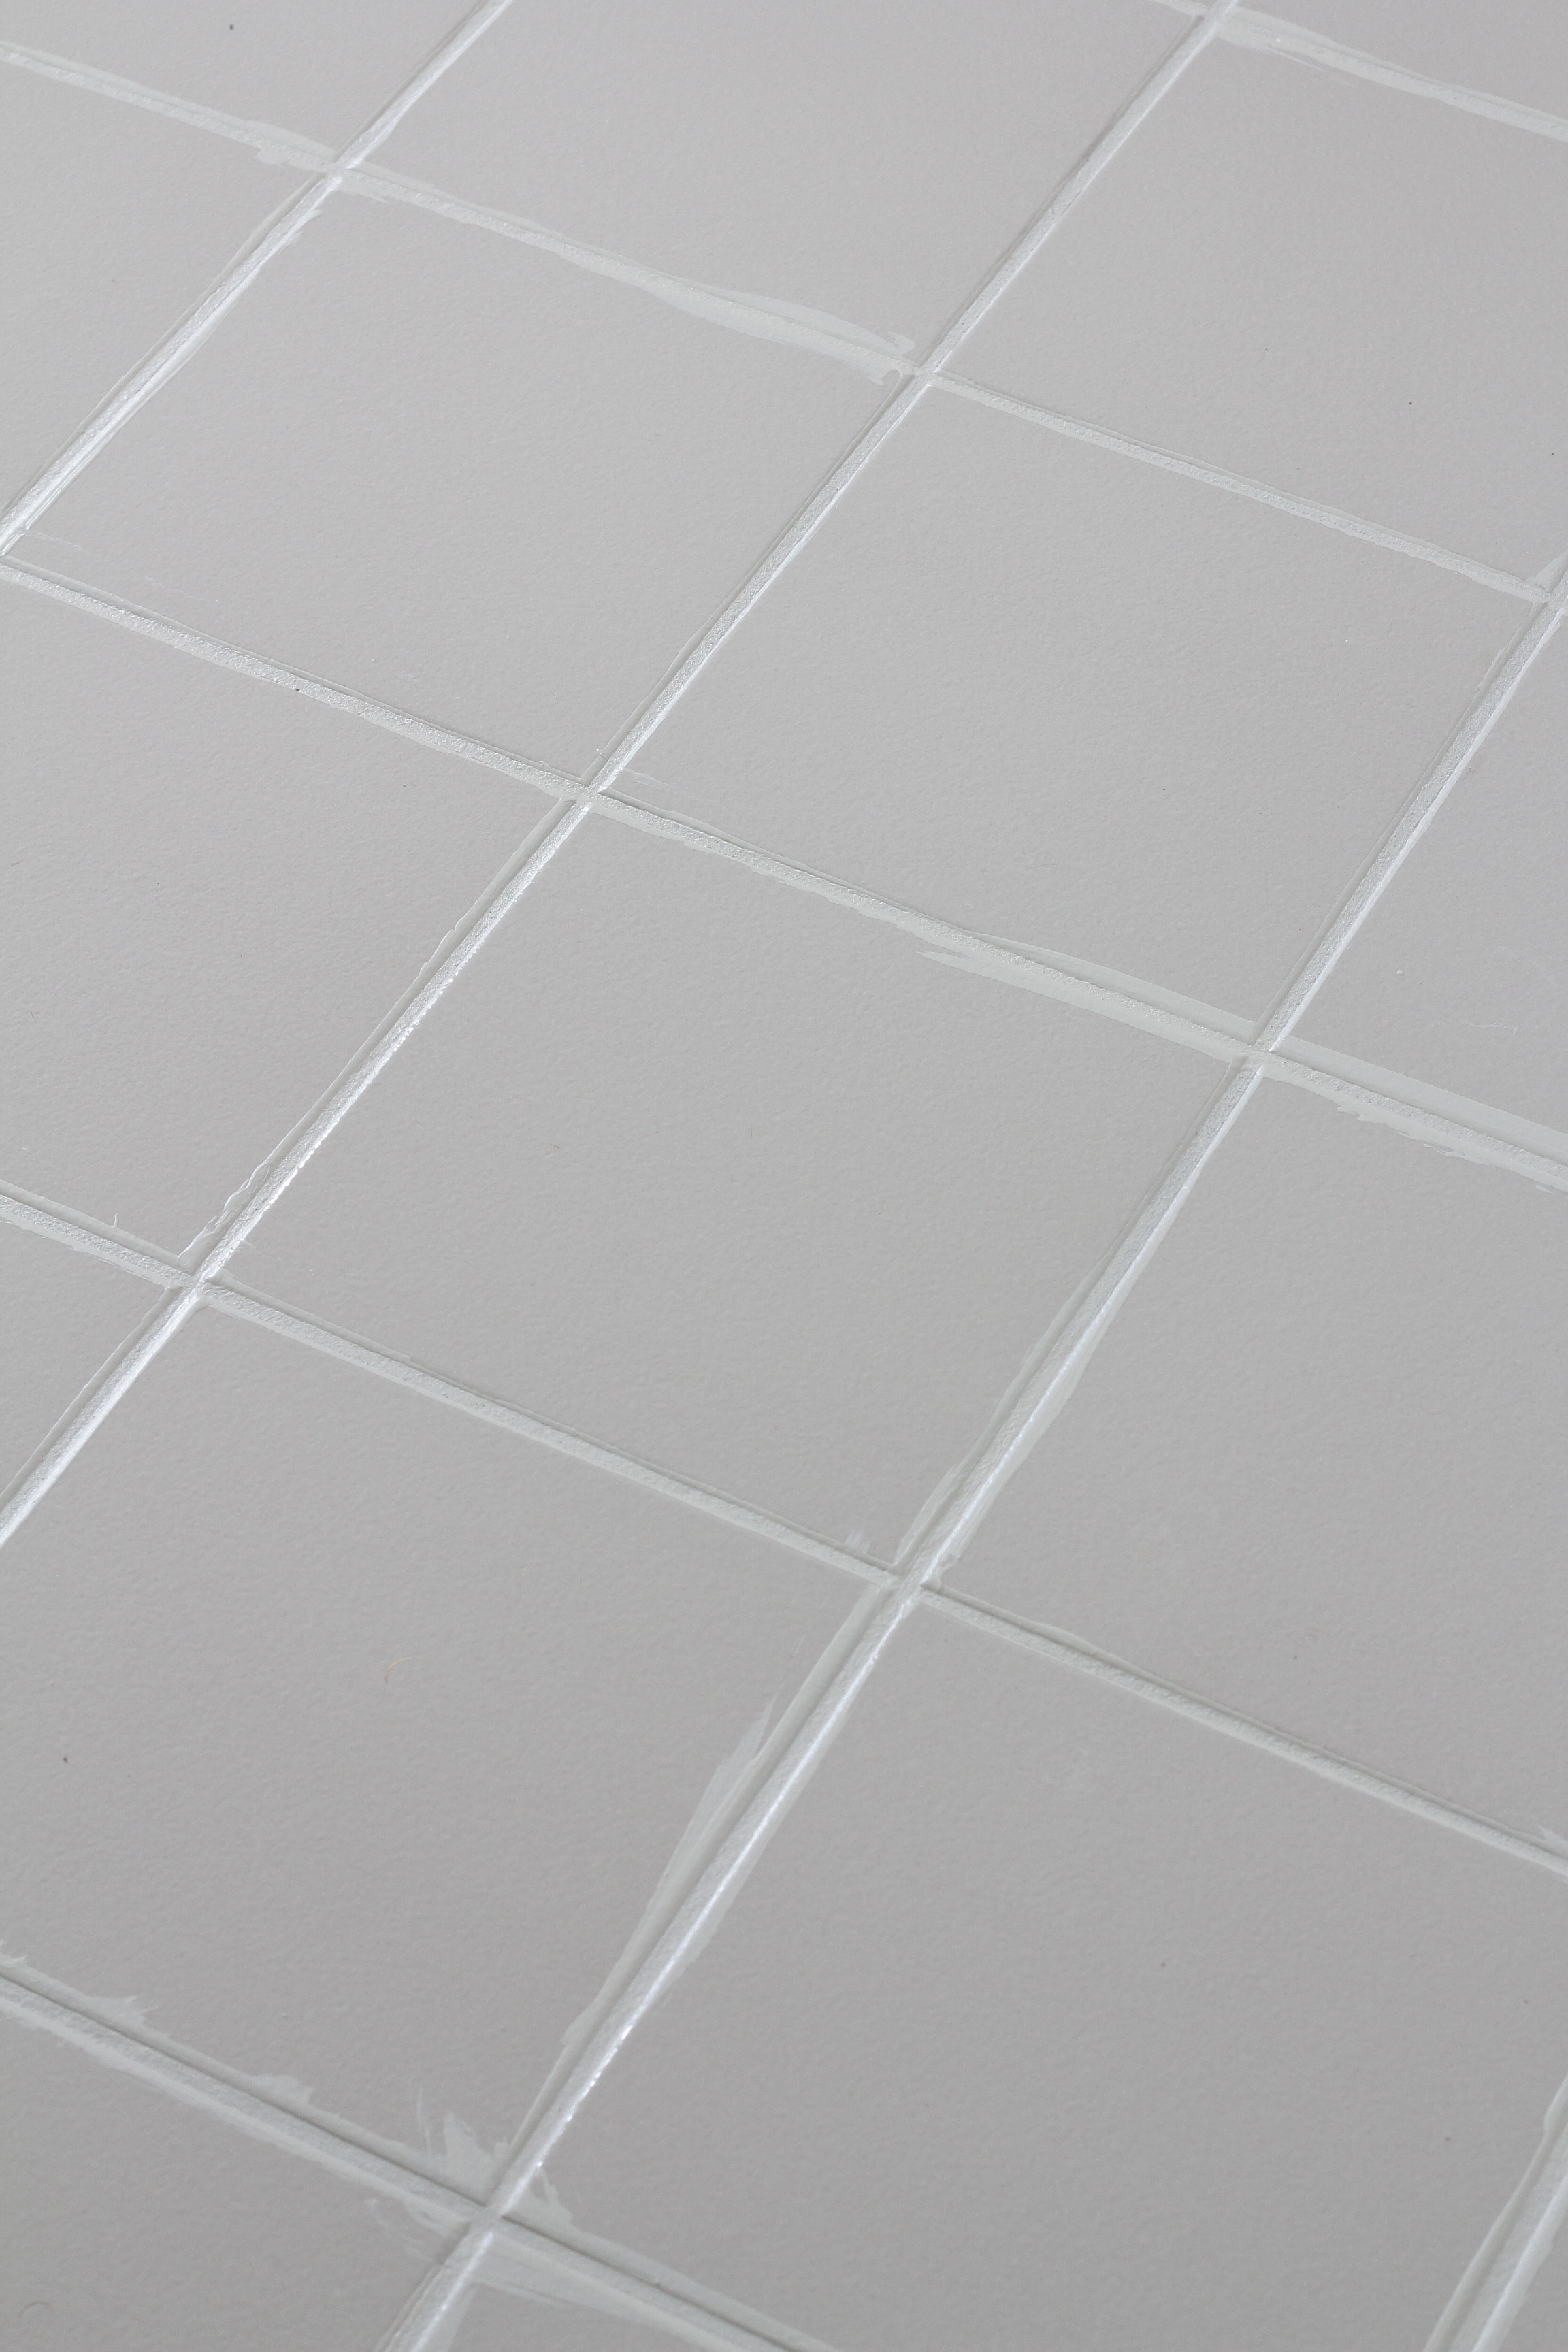
Here is was after going over all the grout lines with the sealer. I used a tooth brush to apply it all, and it took about 2 hours to get the whole floor done. Then I let it sit like this for an hour.
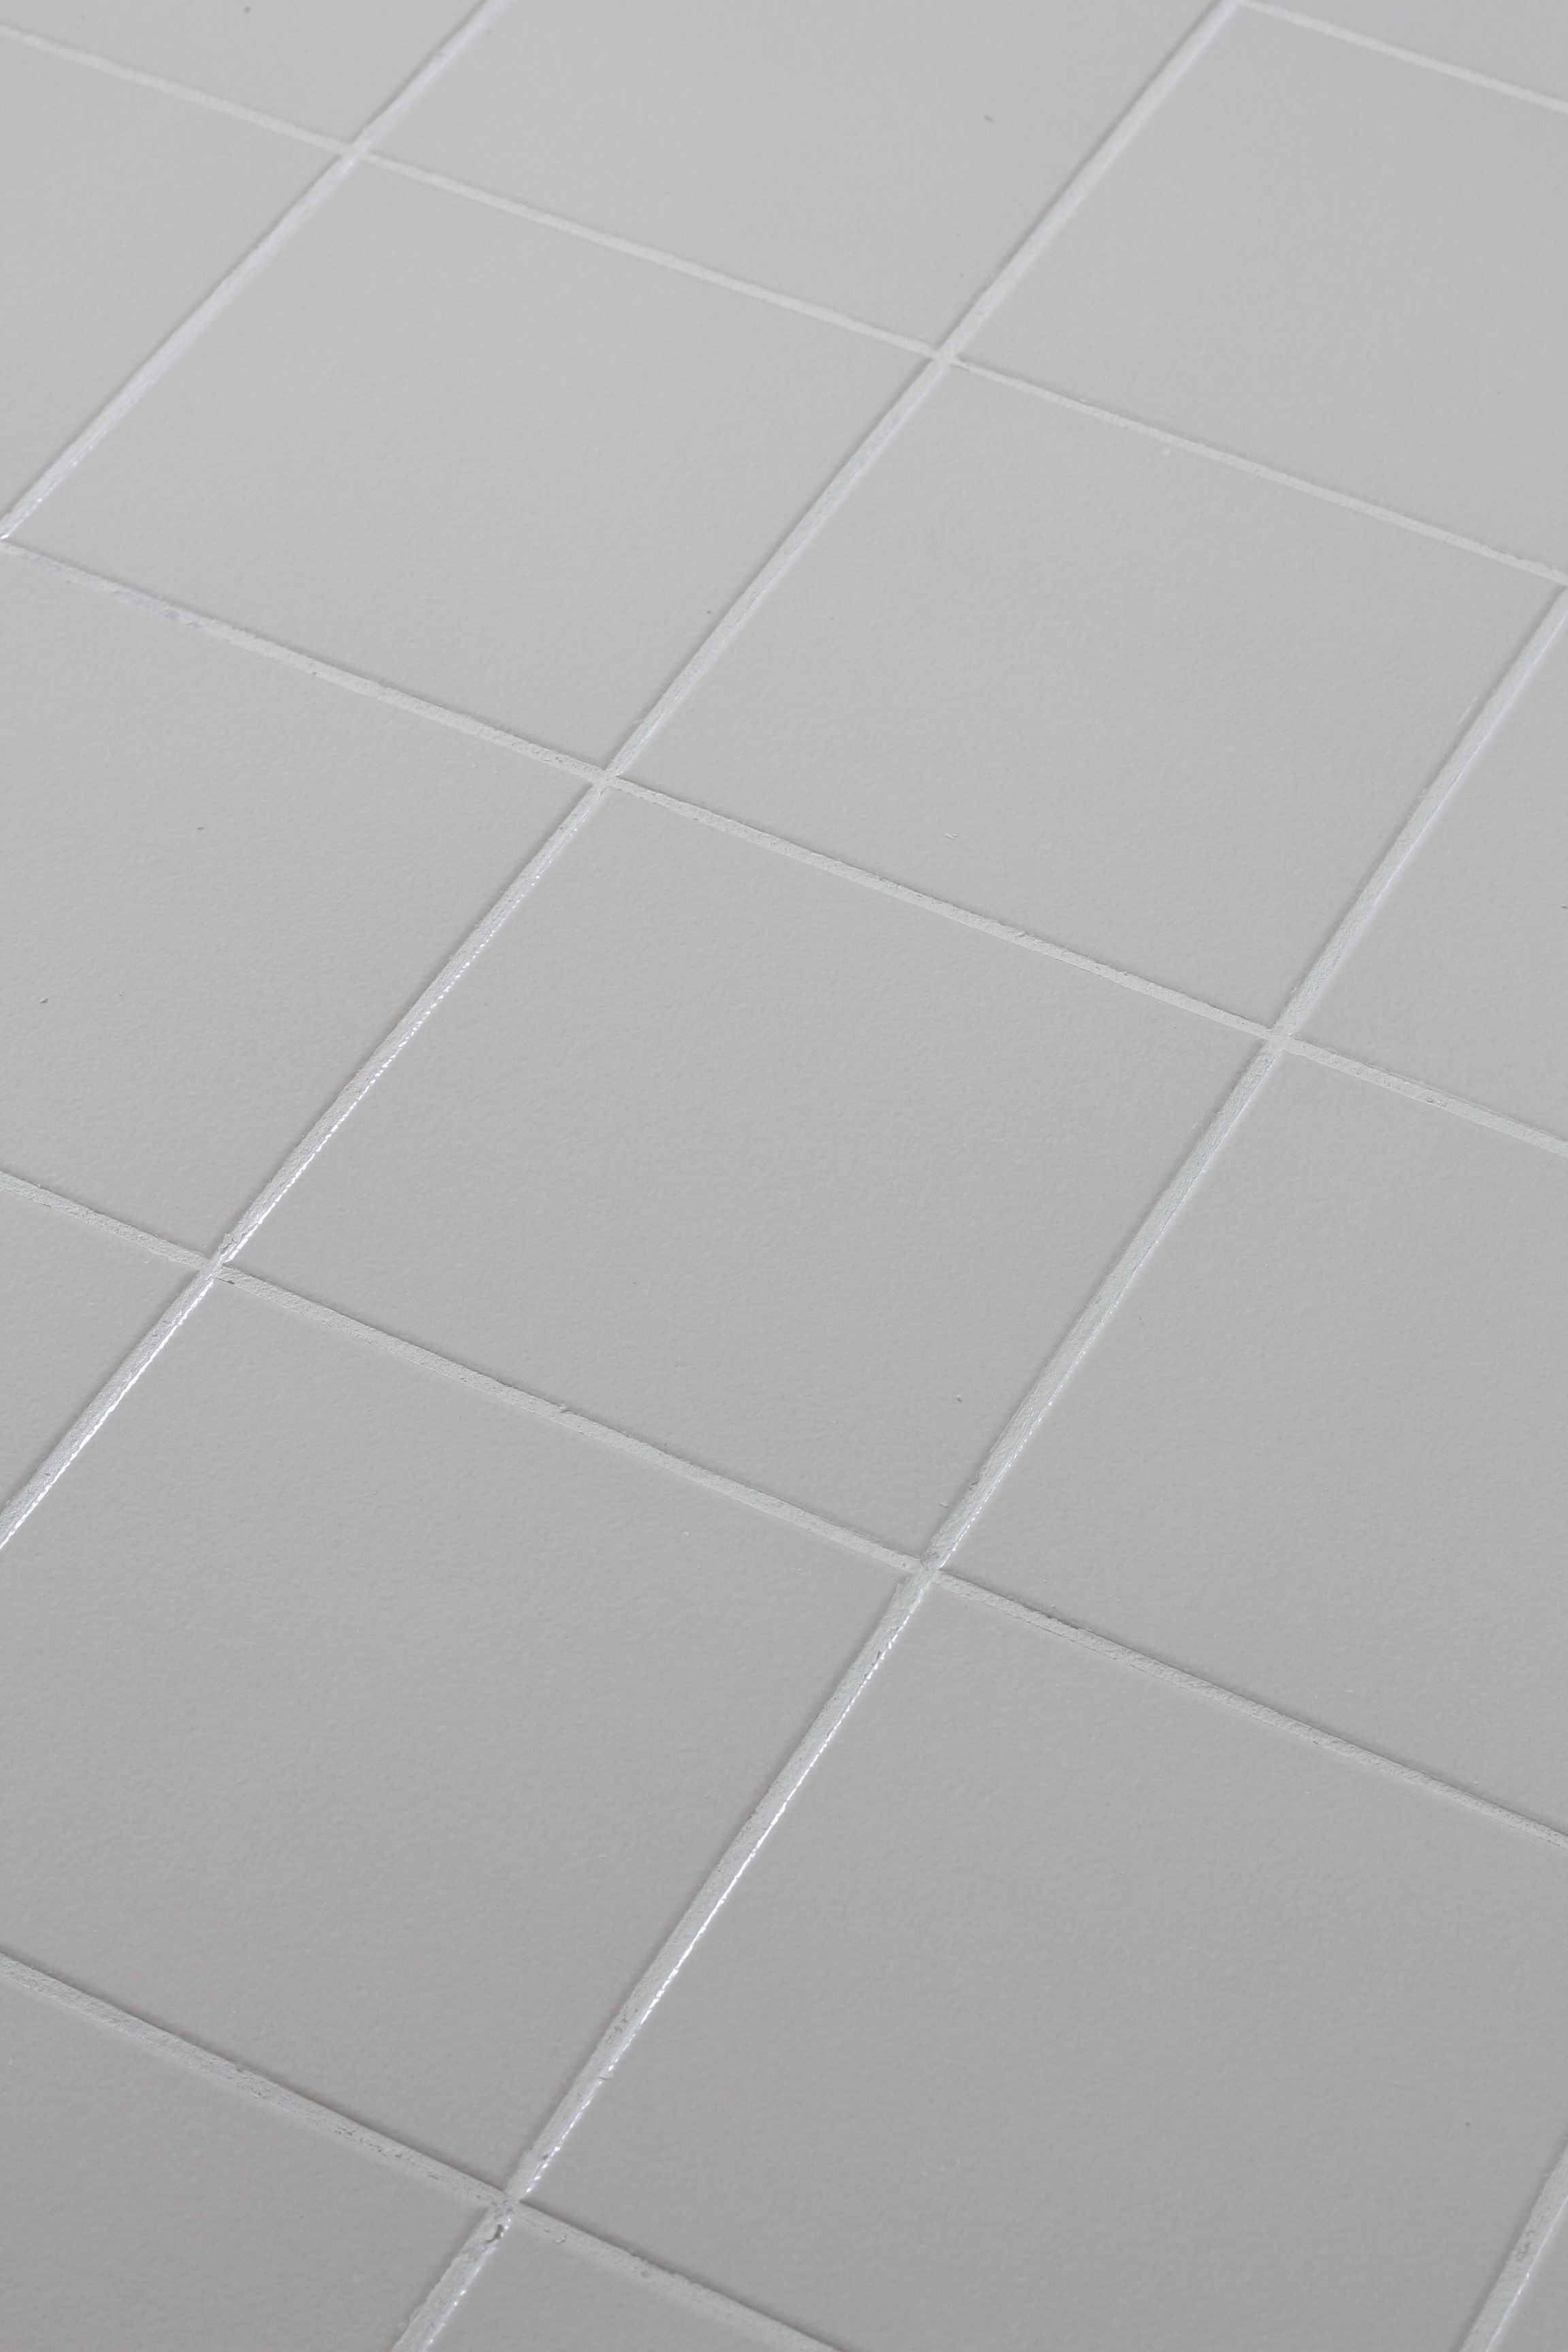
And here is the final result! I used a mister to spray water on the tile and gently wiped away the sealer that was on the tiles. Then we closed off the bathroom for use for a full day before walking on it again. What a difference, right? Pretty dramatic! It definitely has me excited to tackle the rest of the bathroom and bring it up to date.
I will definitely share as the progress continues! xoxo Holly